How to export your sales catalogue to Fixed-Layout EPUB using InDesign
How to export your sales catalogue to Fixed-Layout EPUB using InDesign
The Jellybooks Cloud Reader currently supports EPUB3 Fixed-Layout (FXL) for catalogues, and by default will display single pages in portrait mode and spreads in landscape mode – i.e. the same way as a PDF reader would handle a PDF file.
If you don’t have any experience with FXL EPUB files to date and are using InDesign CC for print, then this how-to-tutorial should guide you through all the important features and guidelines to produce your catalogue as FXL EPUB3.
If you have produced an interactive PDF of your catalogue, chances are there is little extra work to output an FXL EPUB file, as you’ve probably already created a hyperlinked table of contents, links to webpages and mail addresses, etc.
If you are more comfortable with video tutorials, we recommend taking a look at this official tutorial (https://helpx.adobe.com/indesign/how-to/ebook-fixed-layout.html). In addition, this Adobe Help page (https://helpx.adobe.com/indesign/using/export-content-epub-cc.html) lists all the important features of the EPUB export.
Table of Contents
- Guidelines for Text
- Beware of Bleeds
- Make Sure Frames Are in Linear Order
- Add Hyperlinks
- Create a Table of Contents
- Pick the Right Export Options
- Fill in the Metadata
Guidelines for Text
Wherever possible, please keep text intact and do not rasterize it. This will ensure that the rendering is sharper and crisper at any zoom level. It will also ensure that users can highlight or search the text. (These features are not yet supported in the Jellybooks Cloud Reader, but will be added soon.)
Please ensure you have acquired the correct ebook licenses for the fonts you are using. InDesign will automatically embed, subset, and encrypt these.
As a quick tip, all Adobe Fonts (formerly known as Typekit Fonts) available through InDesign are embeddable in your FXL EPUB (https://helpx.adobe.com/fonts/using/font-licensing.html#act-pdf). Other foundries may require a supplemental license in addition to existing licenses for print and PDF.
It is also good practice to check that none of your fonts are missing. You can do so by going to the “Type” menu and clicking “Find Font.”
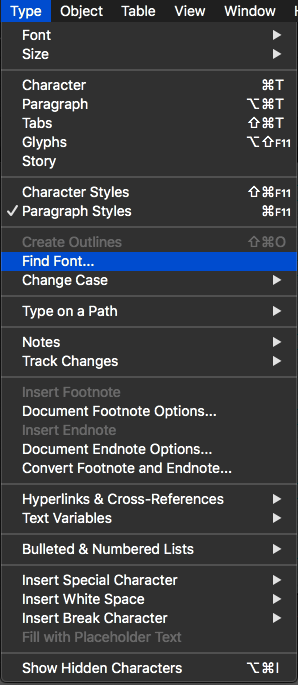
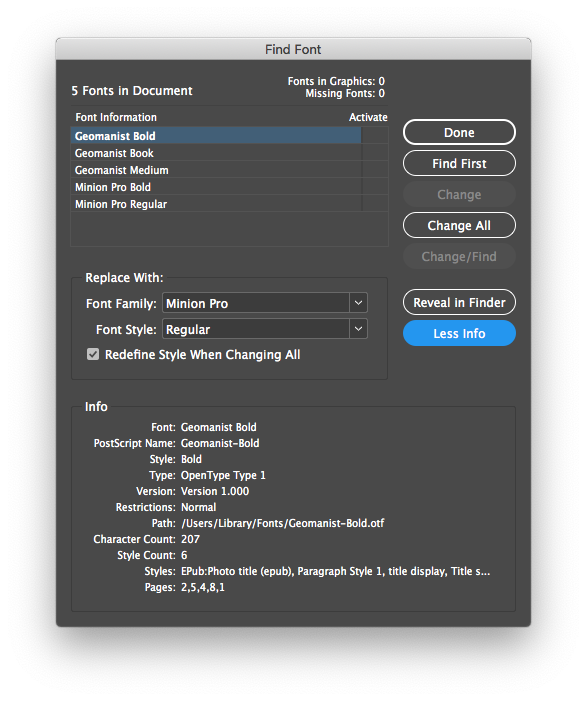
This dialog will appear:
InDesign will let you know if any font is missing in the document. In the same dialog, it is also a good idea to check that all of your fonts are either Open Type (.otf) or True Type (.ttf), as these two formats are the only ones guaranteed to be supported in all browsers.
Beware of Bleeds
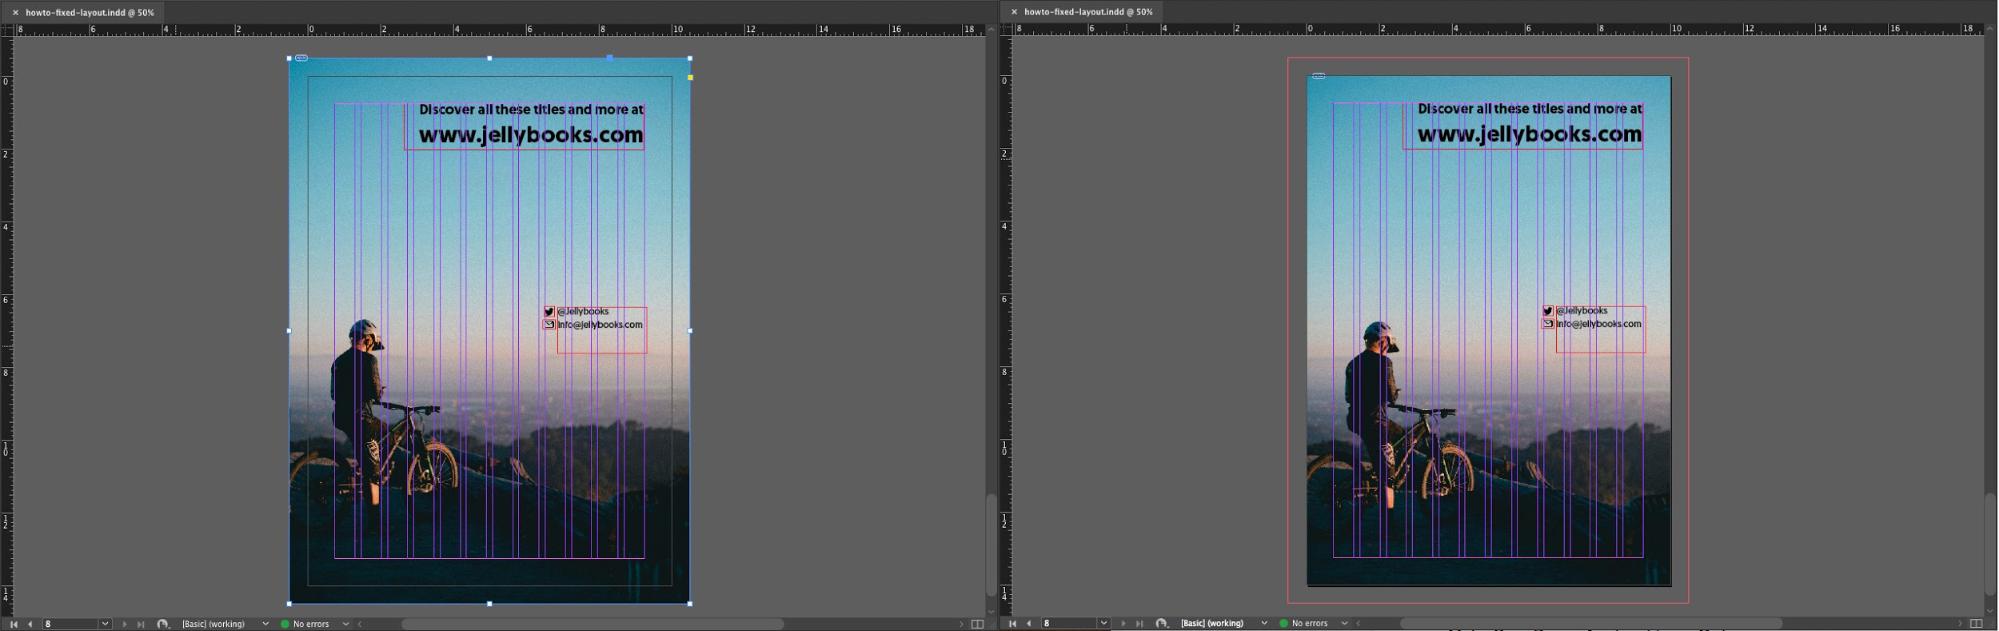
In older versions of InDesign CC, if an object or text frame bleeds off the page (as it might for print), then scroll bars could pop up in the exported ePub. This seems to have been corrected in the latest version of InDesign CC (14.0.2) but if you encounter this issue, you will have to adjust these frames.
In this example, the left image bleeds off the page, the right image shows the adjusted object frame.
Make Sure Frames Are in Linear Order
Checking that your content is in the proper linear order will ensure a great experience when readers navigate interactive elements with their keyboard or use accessibility tools.
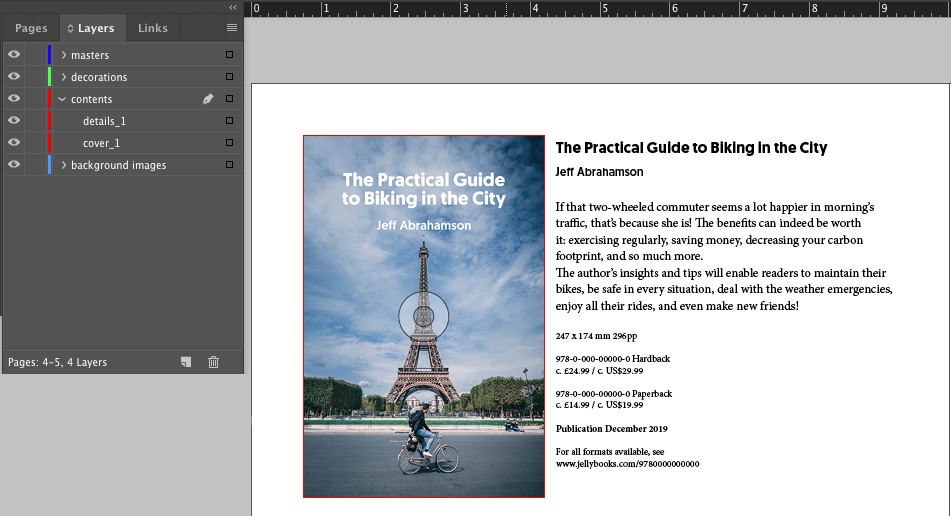
InDesign uses layers to infer what the order of your frames is. You can make corrections by simply reordering frames in the Layers panel.
The key point to understand is that InDesign will consider the bottommost layer the first frame in the logical order.
In the image below, this means “cover_1” is the first frame, and “details_1” the second.
In other words, the logical order is reversed in the “Layers” panel. If we add another book, then its object and text frames should come on top of the existing layers:
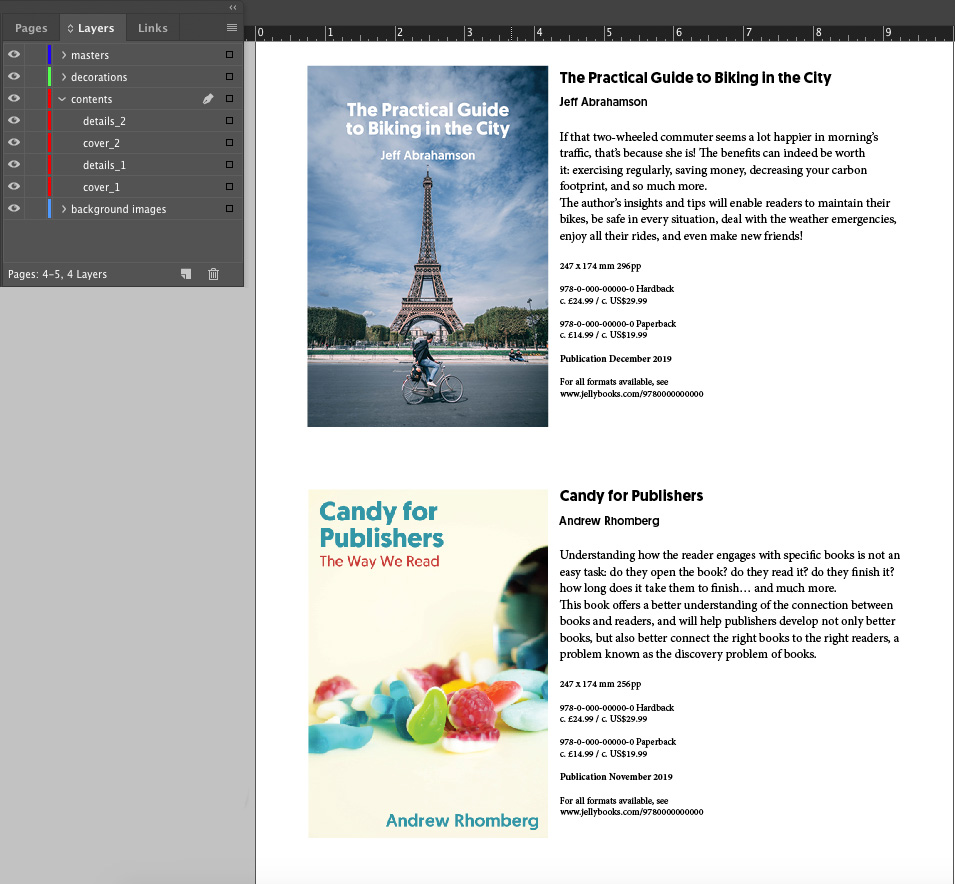
As you may notice, we now have “cover_2” and “details_2” as the topmost layers. They are the last two in the logical order.
When users navigate hyperlinks via the tab key, this order ensures that navigation proceeds in a logical order, and does not switch from the cover of one book to the text of another book, etc.
Add Hyperlinks
Do not hesitate to use text anchors and hyperlinks whenever applicable, such as email addresses, web URLs, and internal links.
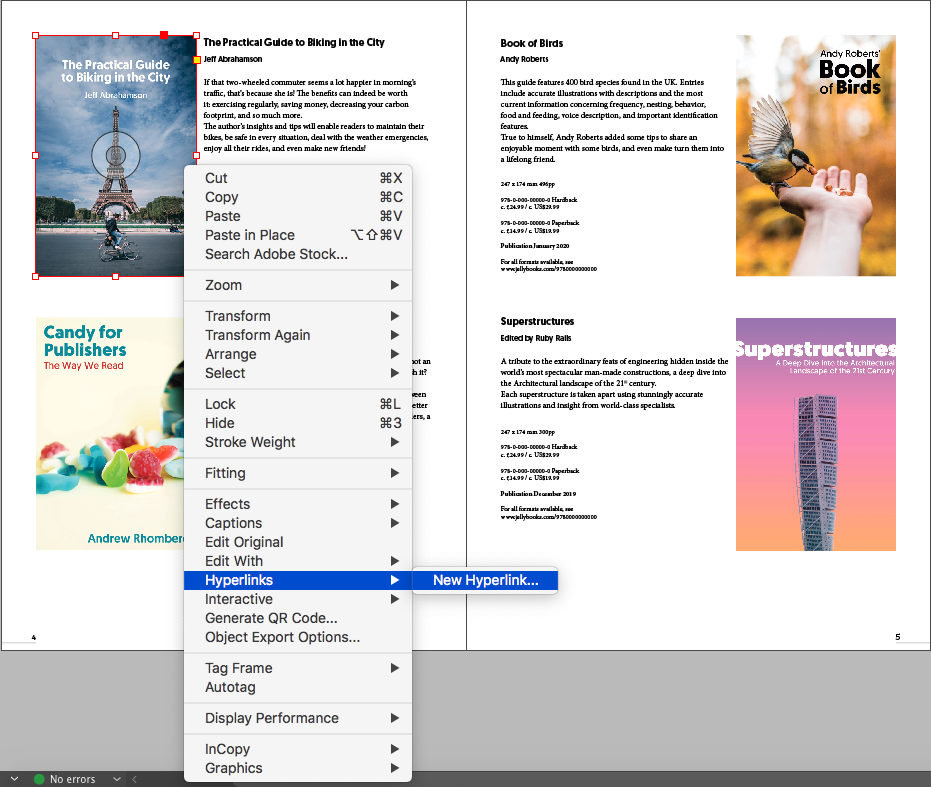
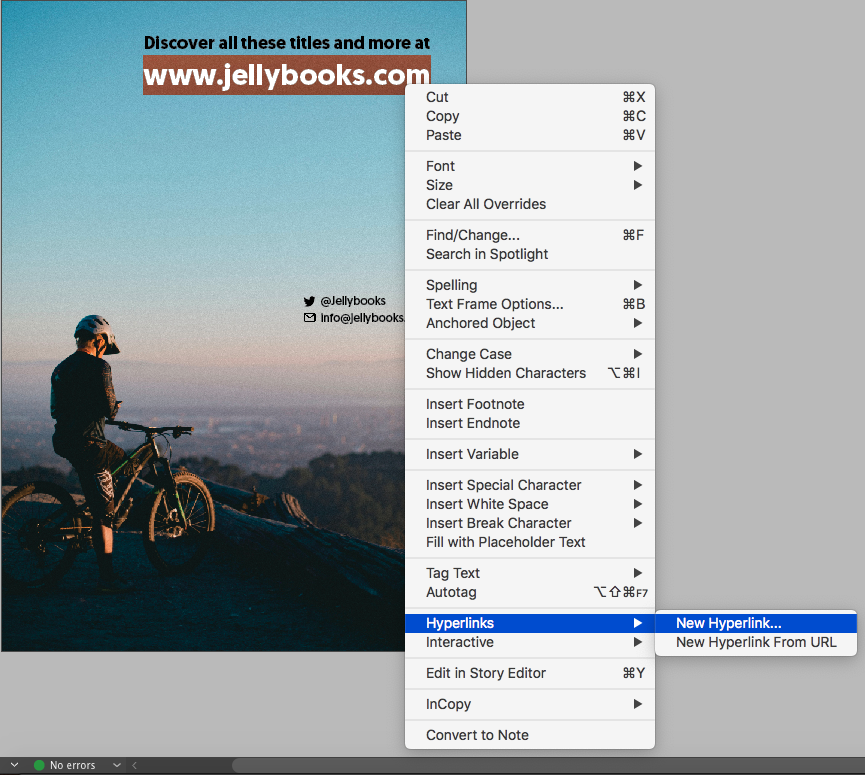
For instance, to add a hyperlink for each sample to its respective cover, select the object frame of the cover, right click, and select “Hyperlinks > New Hyperlink”.
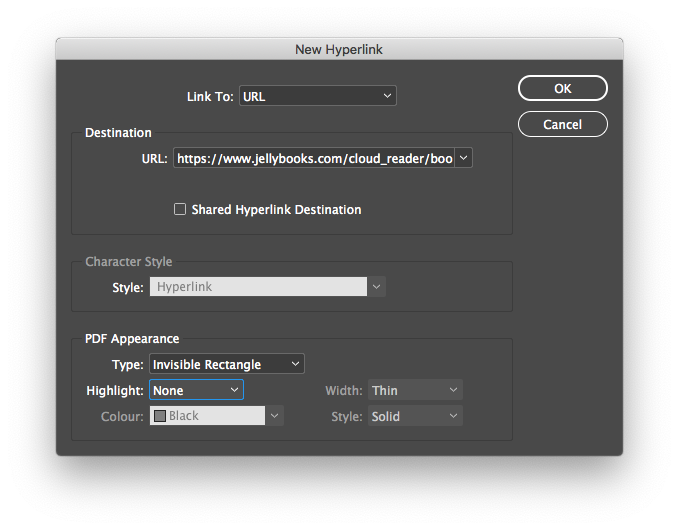
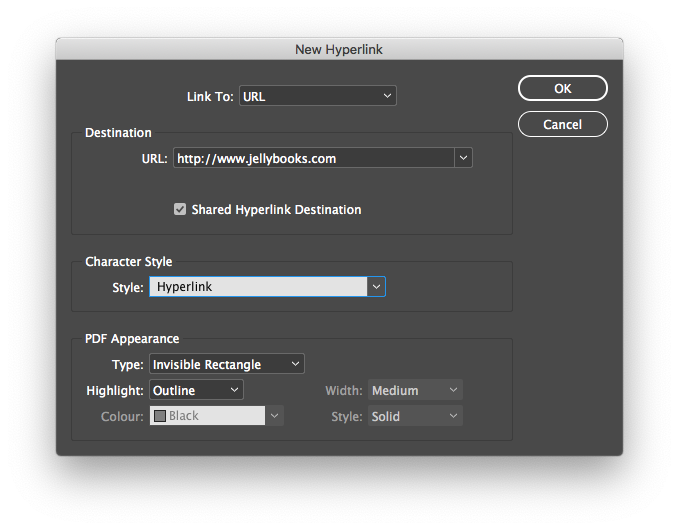
A dialog will open to configure the hyperlink:
Note that PDF Appearance won’t be applied in FXL EPUB. If you want to style this link, use the Object’s style.
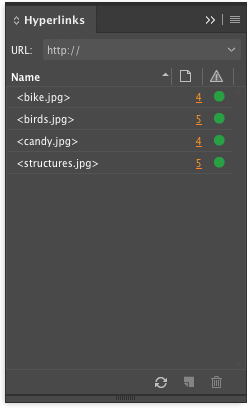
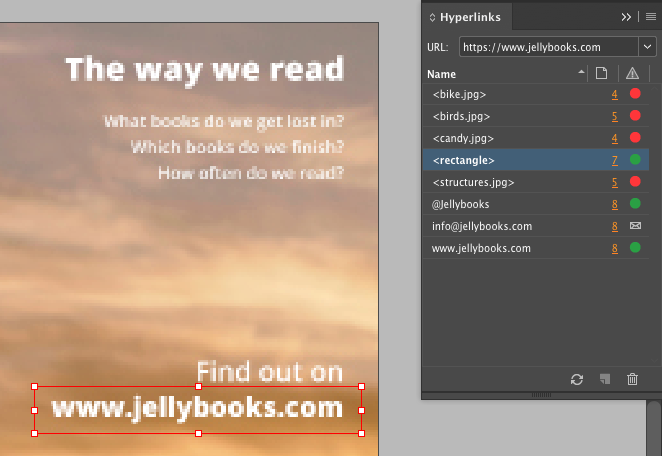
As a final step, check that your URLs are correct in the “Hyperlinks” panel.
The green circles signify that the URLs are valid and are responding to requests. If they were to show as red then it would indicate that the URL is incorrect, or that the site it’s linking to isn’t functioning.
Of course you can also add hyperlinks to selected text:
This will open a dialog with an extra option for styling hyperlinks if you want to differentiate them:
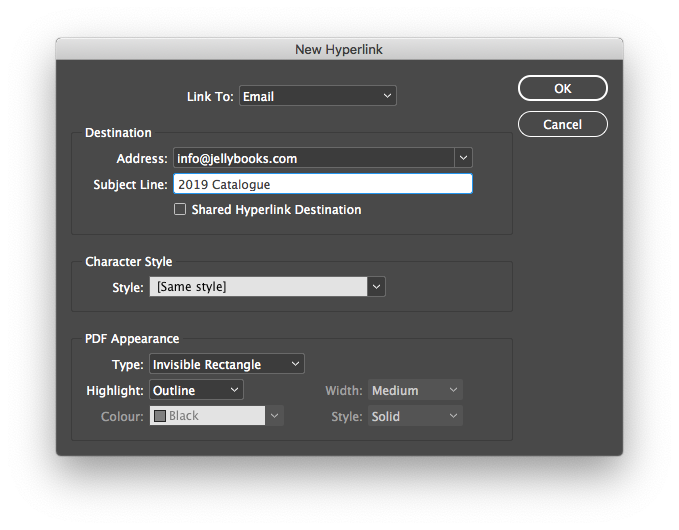
You can also create email links with a subject line by selecting “Email” from the Link To dropdown:
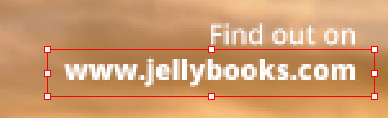
Finally, there may be occasions when a page is flattened and contains a URL inside the image, as shown below.

Obviously, adding a link to the entire spread would not offer readers a great user experience: the two pages combined would be a single hyperlink, and readers would encounter difficulties even turning the page.
To solve the problem, you can employ a little trick: create a rectangle on top of the URL in order to add a link to this object, as we did for covers:
This is treated as any other link by InDesign:
We recommend taking a look at this InDesign Help Page (https://helpx.adobe.com/indesign/how-to/add-hyperlink.html) for further details on how to add hyperlinks.
Create a Table of Contents
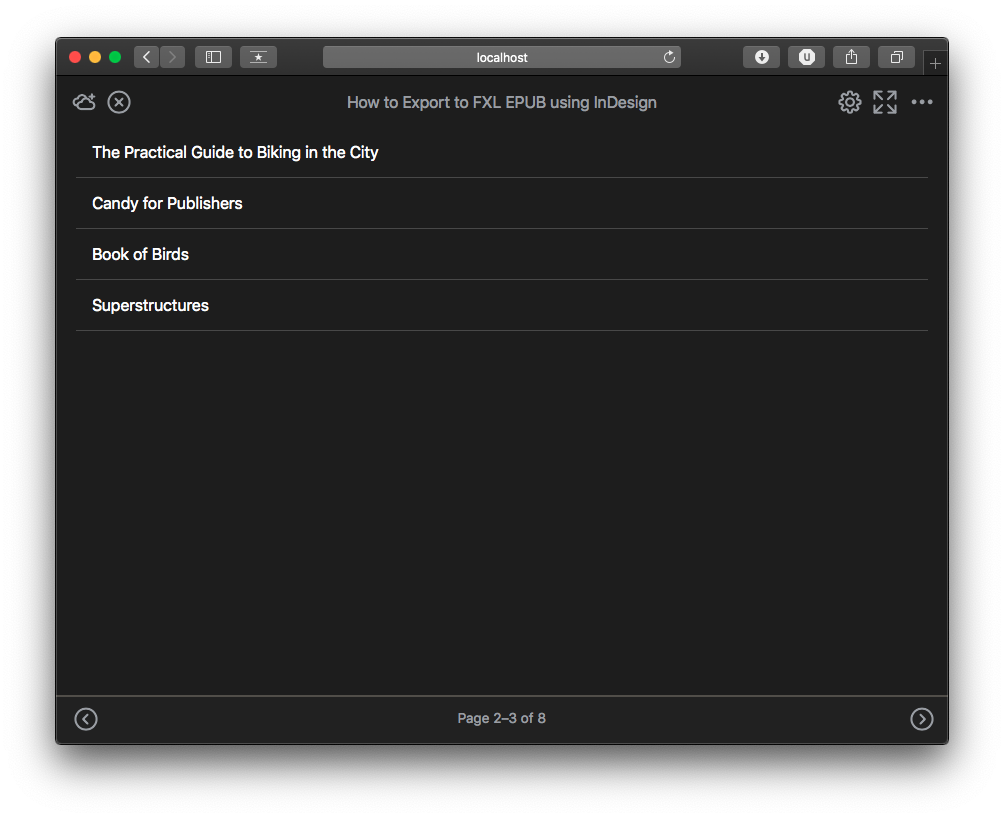
When using InDesign you could either use TOC style or PDF bookmarks to generate the table of contents. This will then define the table of contents that readers will encounter in the user interface of the Jellybooks Cloud Reader. As a reference, you can check the appearance of the table of contents you have designed in apps such as iBooks or Adobe Digital Editions 4.5.
TOC Style
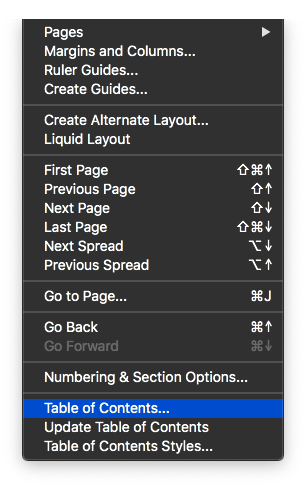
If you already have a table of contents in your catalogue, then using a TOC Style is the easiest way to create the EPUB TOC. If you used the “Table of Contents” entry in the “Layout” menu, so you can either create a new one or update the existing style.
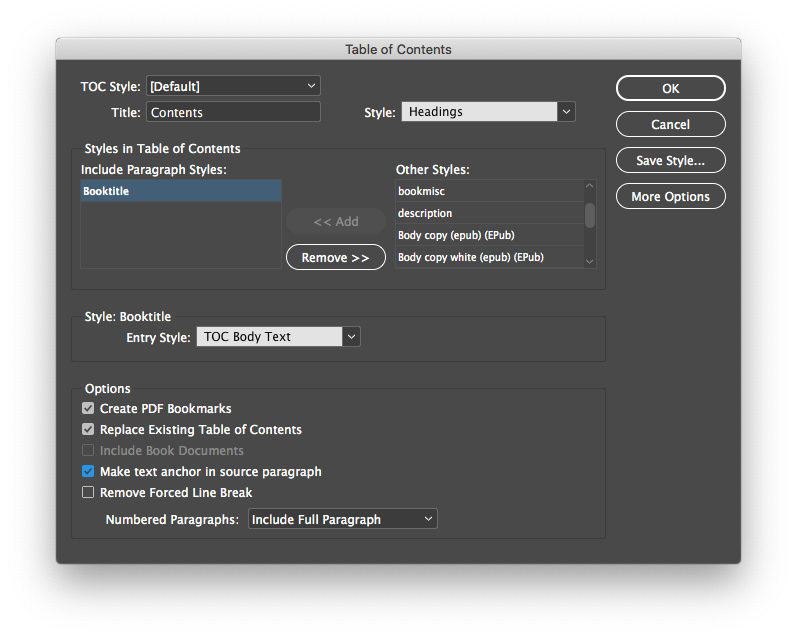
Please make sure the “Create PDF Bookmarks” and “Make text anchor in source paragraph” options are checked, then add/update the table of contents.
In the “Bookmarks” dialog, all your TOC entries will now be present.
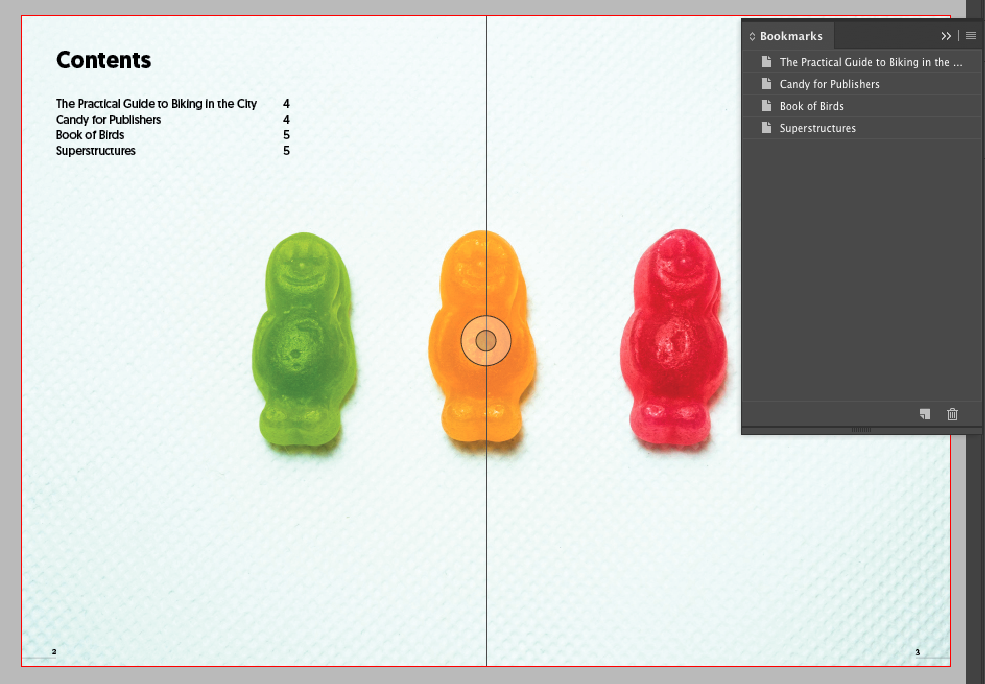
And this is what it will look like in Jellybooks Cloud Reader:
PDF Bookmarks
If you are not using a Table of Contents inside your catalogue, or maybe want one that is more complex or different, then you can use Bookmarks.
To add a bookmark, select a page, right-click and select “Interactive > New Bookmark”.
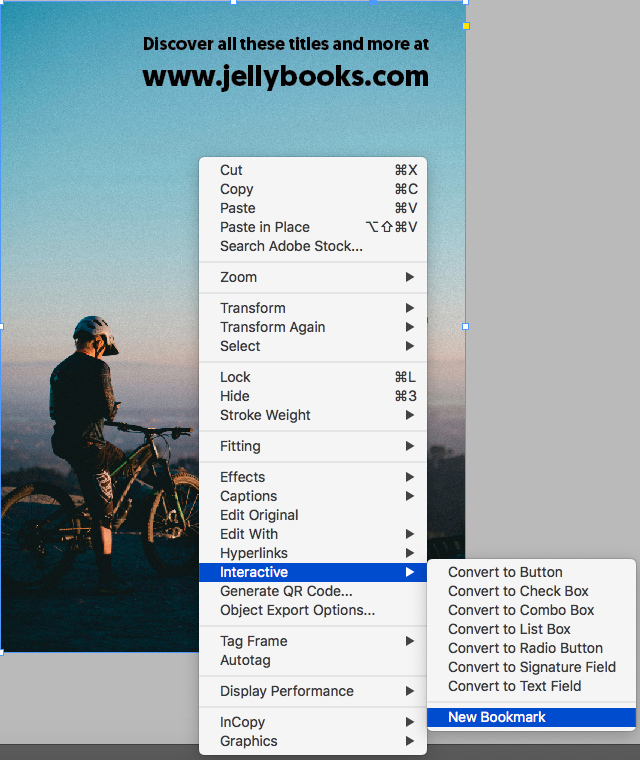
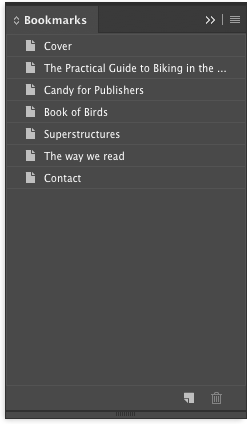
Then add the title of the entry in the “Bookmarks” panel.
In this example, we have built on top of the existing TOC and added a few bookmarks:
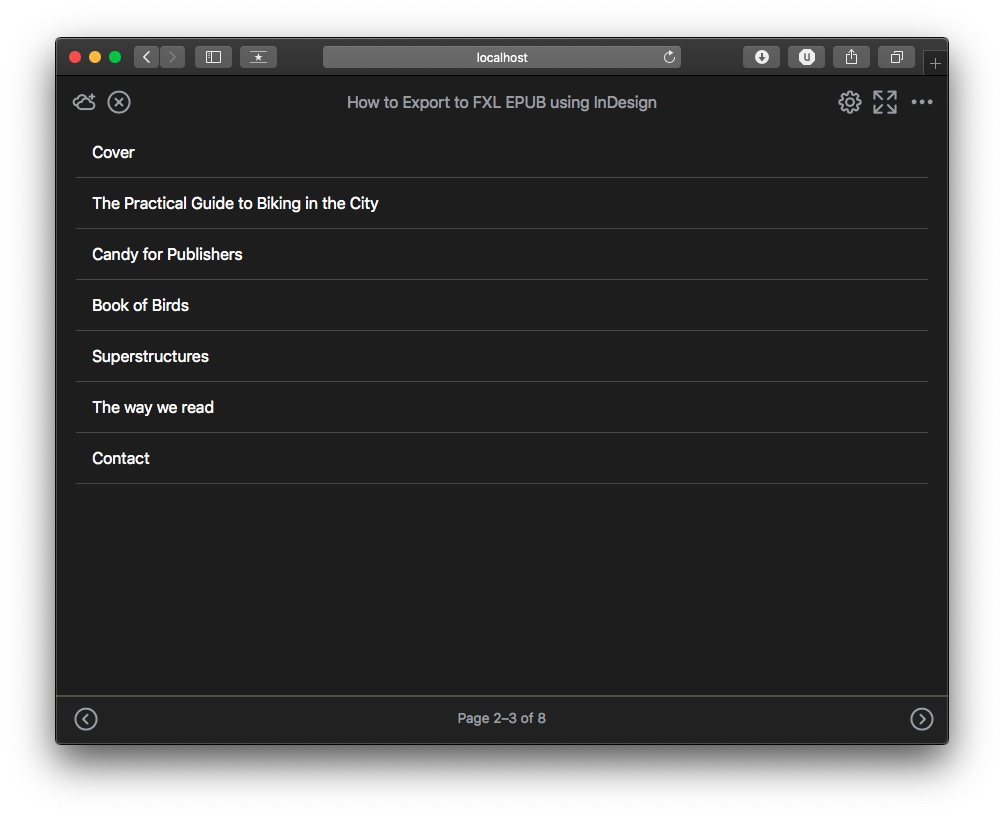
Using the corresponding export option (see next section), this is what it will look like in Jellybooks Cloud Reader:
Pick the Right Export Options
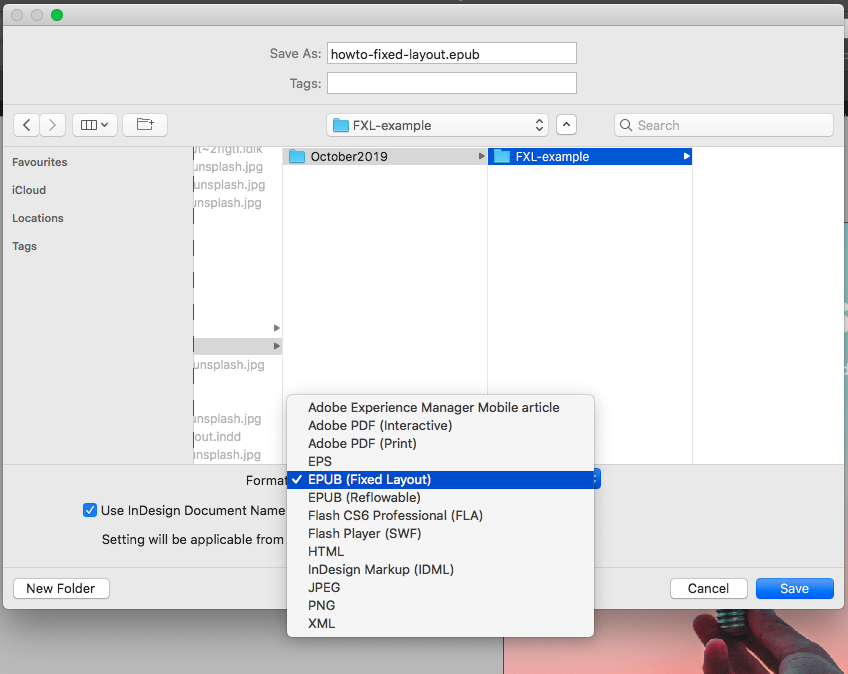
When exporting your file, make sure you pick the “EPUB (fixed layout)” format:
The Export panel should then appear.
InDesign’s FXL export options are described in more detail on this Adobe’s Help page (https://helpx.adobe.com/indesign/using/export-content-epub-cc.html#main-pars_header_3). It’s important to understand how to pick the proper option for some of them.
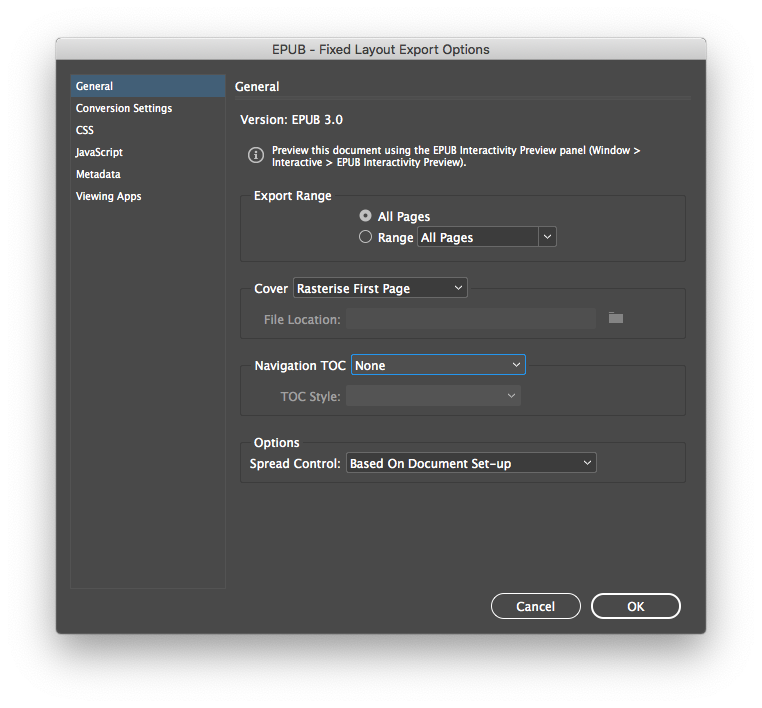
General
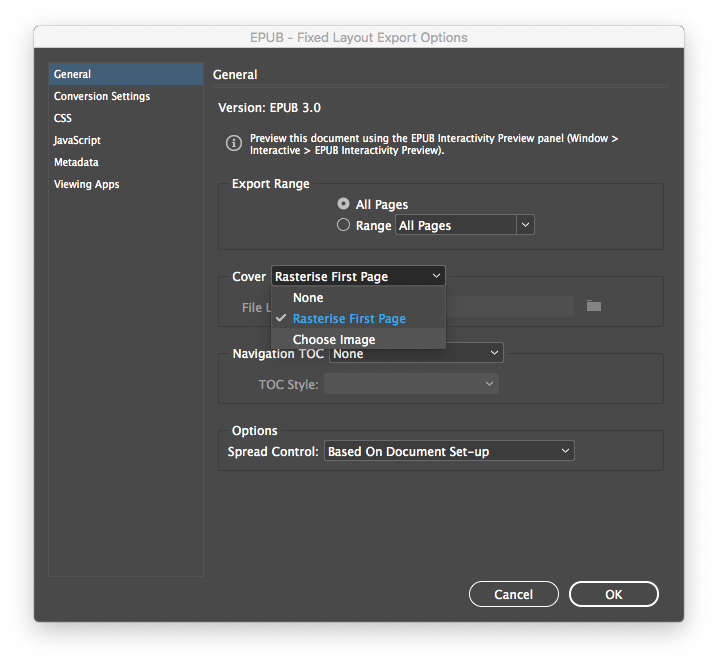
As the Jellybooks Cloud Reader handles FXL EPUB files in the same way as a PDF reader would handle a PDF file, the cover should be the first page of the publication. Therefore we can “Rasterize First Page” for the cover.
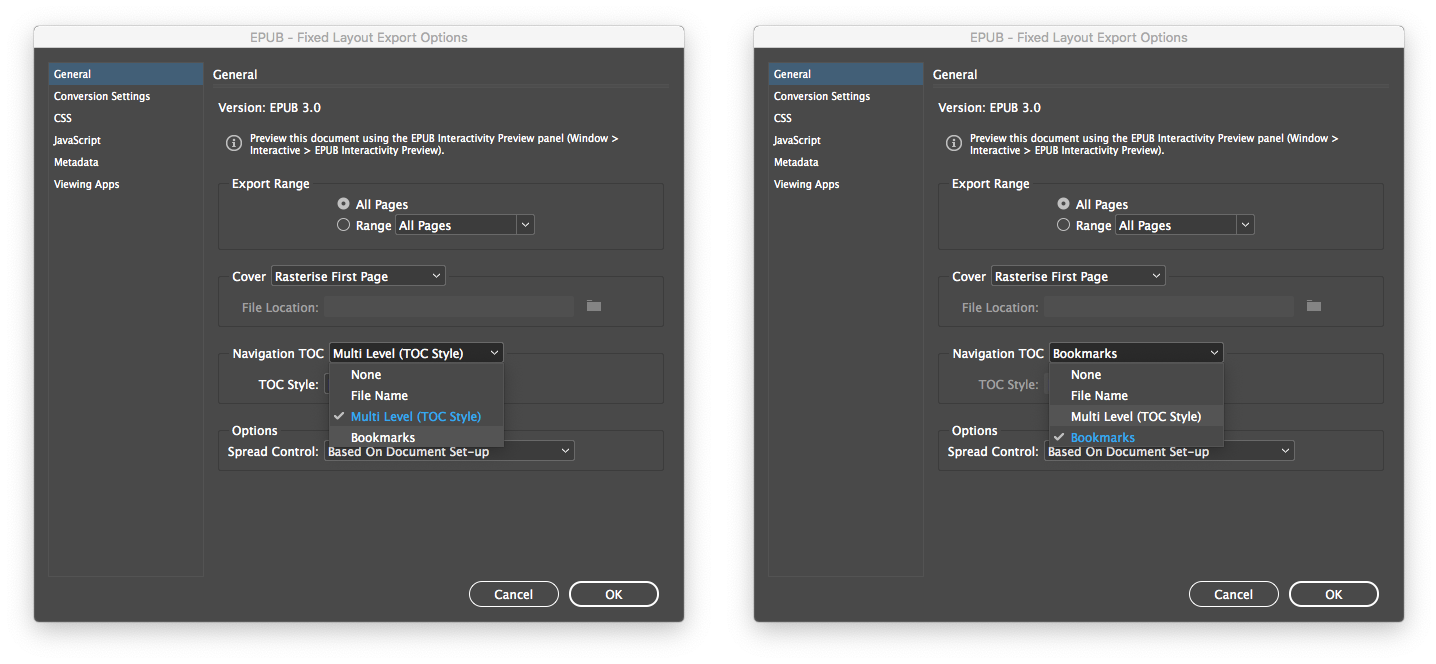
For the Navigation TOC option, its value should correspond to the method used to construct the table of contents within the document: select Bookmarks if PDF Bookmarks were used, else select Multi Level (TOC Style) if TOC Style was used.
Finally, we recommend keeping the “Based on document set-up” option for “Spread Control”:
This option will ensure the FXL EPUB is laid out the same as your InDesign document.
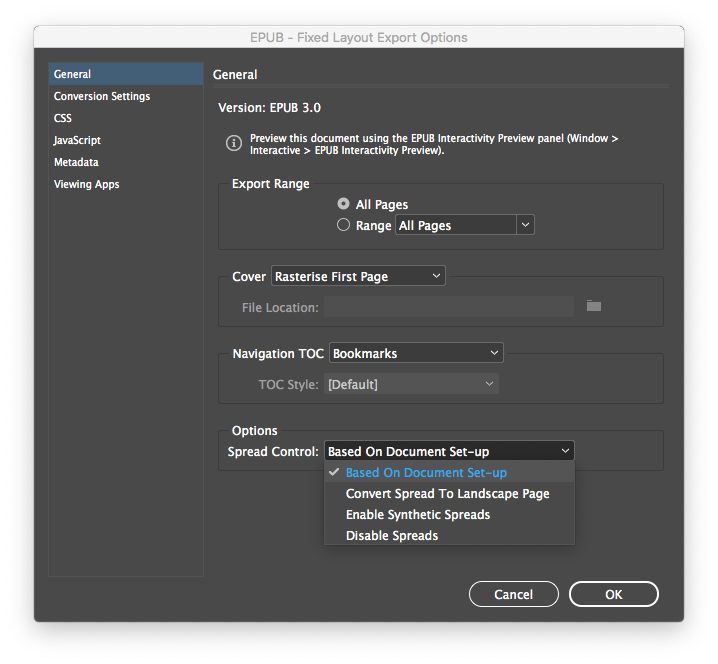
Spreads are displayed in landscape mode, which can either be a mobile device held in landscape orientation or a browser window expanded to landscape dimensions. As a result, you should keep 2-page spreads AS-IS, and not transform them into landscape pages.
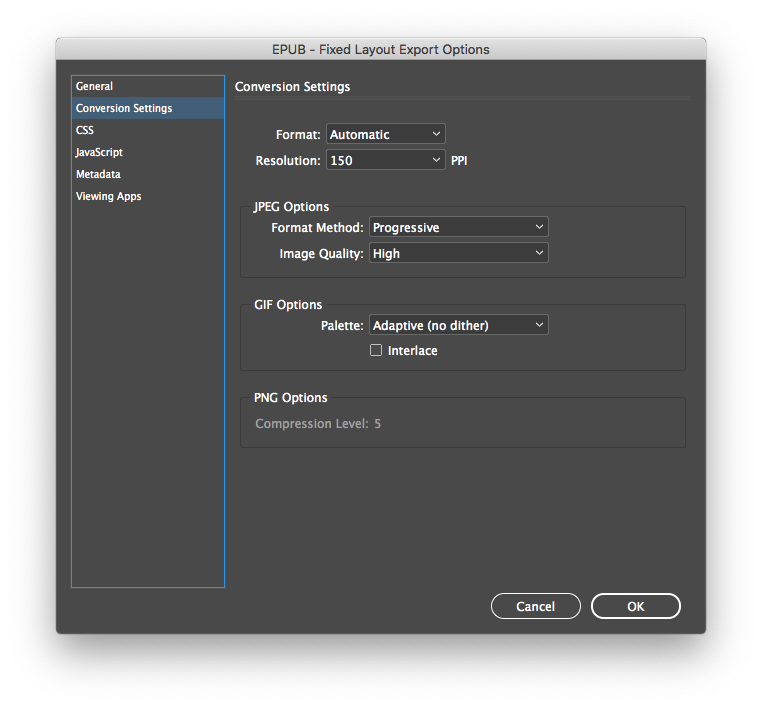
Conversion Settings
This is the tab where you control the quality of output images. It is useful when the size of your FXL EPUB file is significant – since the reader will access the catalogue over the internet, undue image size will increase loading time.
We recommend trying “Medium” for JPEG Image Quality and checking whether it’s a good compromise in an EPUB app such as Adobe Digital Editions 4.5 or Apple Books. Sometimes this option can help you cut the EPUB file size by half.
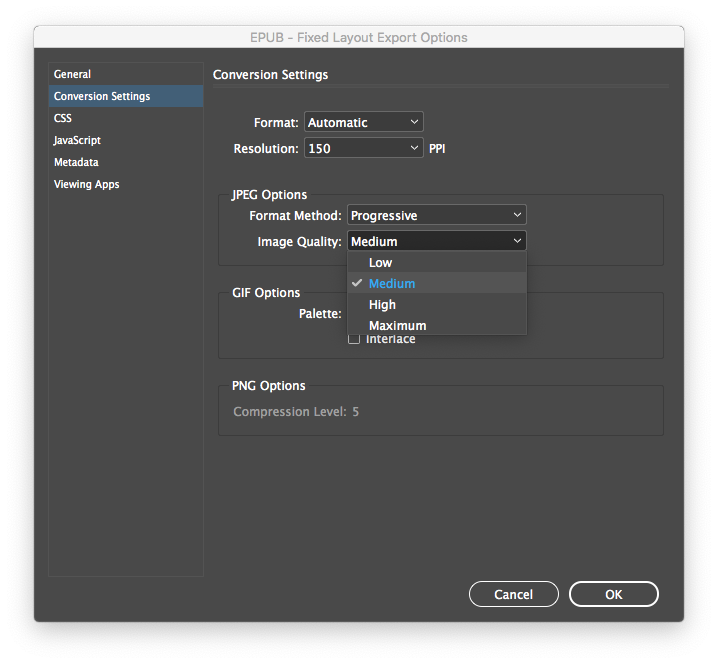
If the quality is not sufficient, then keep the default value of “High”.
Fill in the Metadata
It is important that the metadata of your EPUB file be complete and accurate, as some fields will be used in the user interface of the Jellybooks Cloud Reader. For example, the title of the publication is displayed in the navigation bar at the top of the screen.
When using InDesign, these fields can be filled during the export process.
This is the dialog for filling in metadata:
Use the default value for “Identifier”.
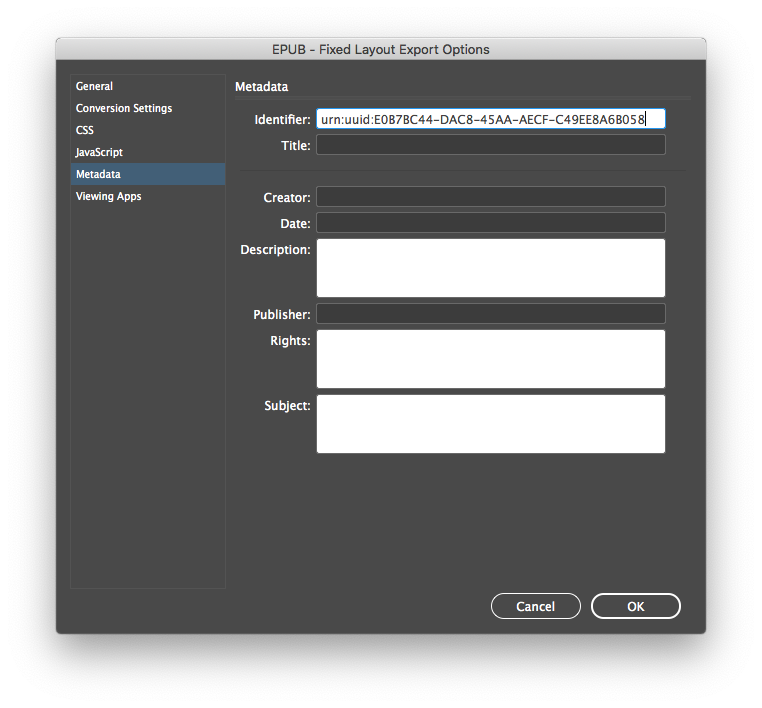
Please ensure you include the title of the Catalogue because it will be displayed in the Jellybooks Cloud Reader user interface – otherwise, InDesign will default to using the filename of your document as its title. Do not hesitate to fill in other fields too.
What is important to note is that the date should respect ISO-8601 (https://en.wikipedia.org/wiki/ISO_8601) e.g. 2019-10-10T00:00:00Z, in order to avoid getting errors from epubcheck. Keywords should be separated with commas in the “Subject” field. Others should be self-explanatory.

Click OK and you are good to go! You have just created a FXL EPUB file of your sales catalogue.